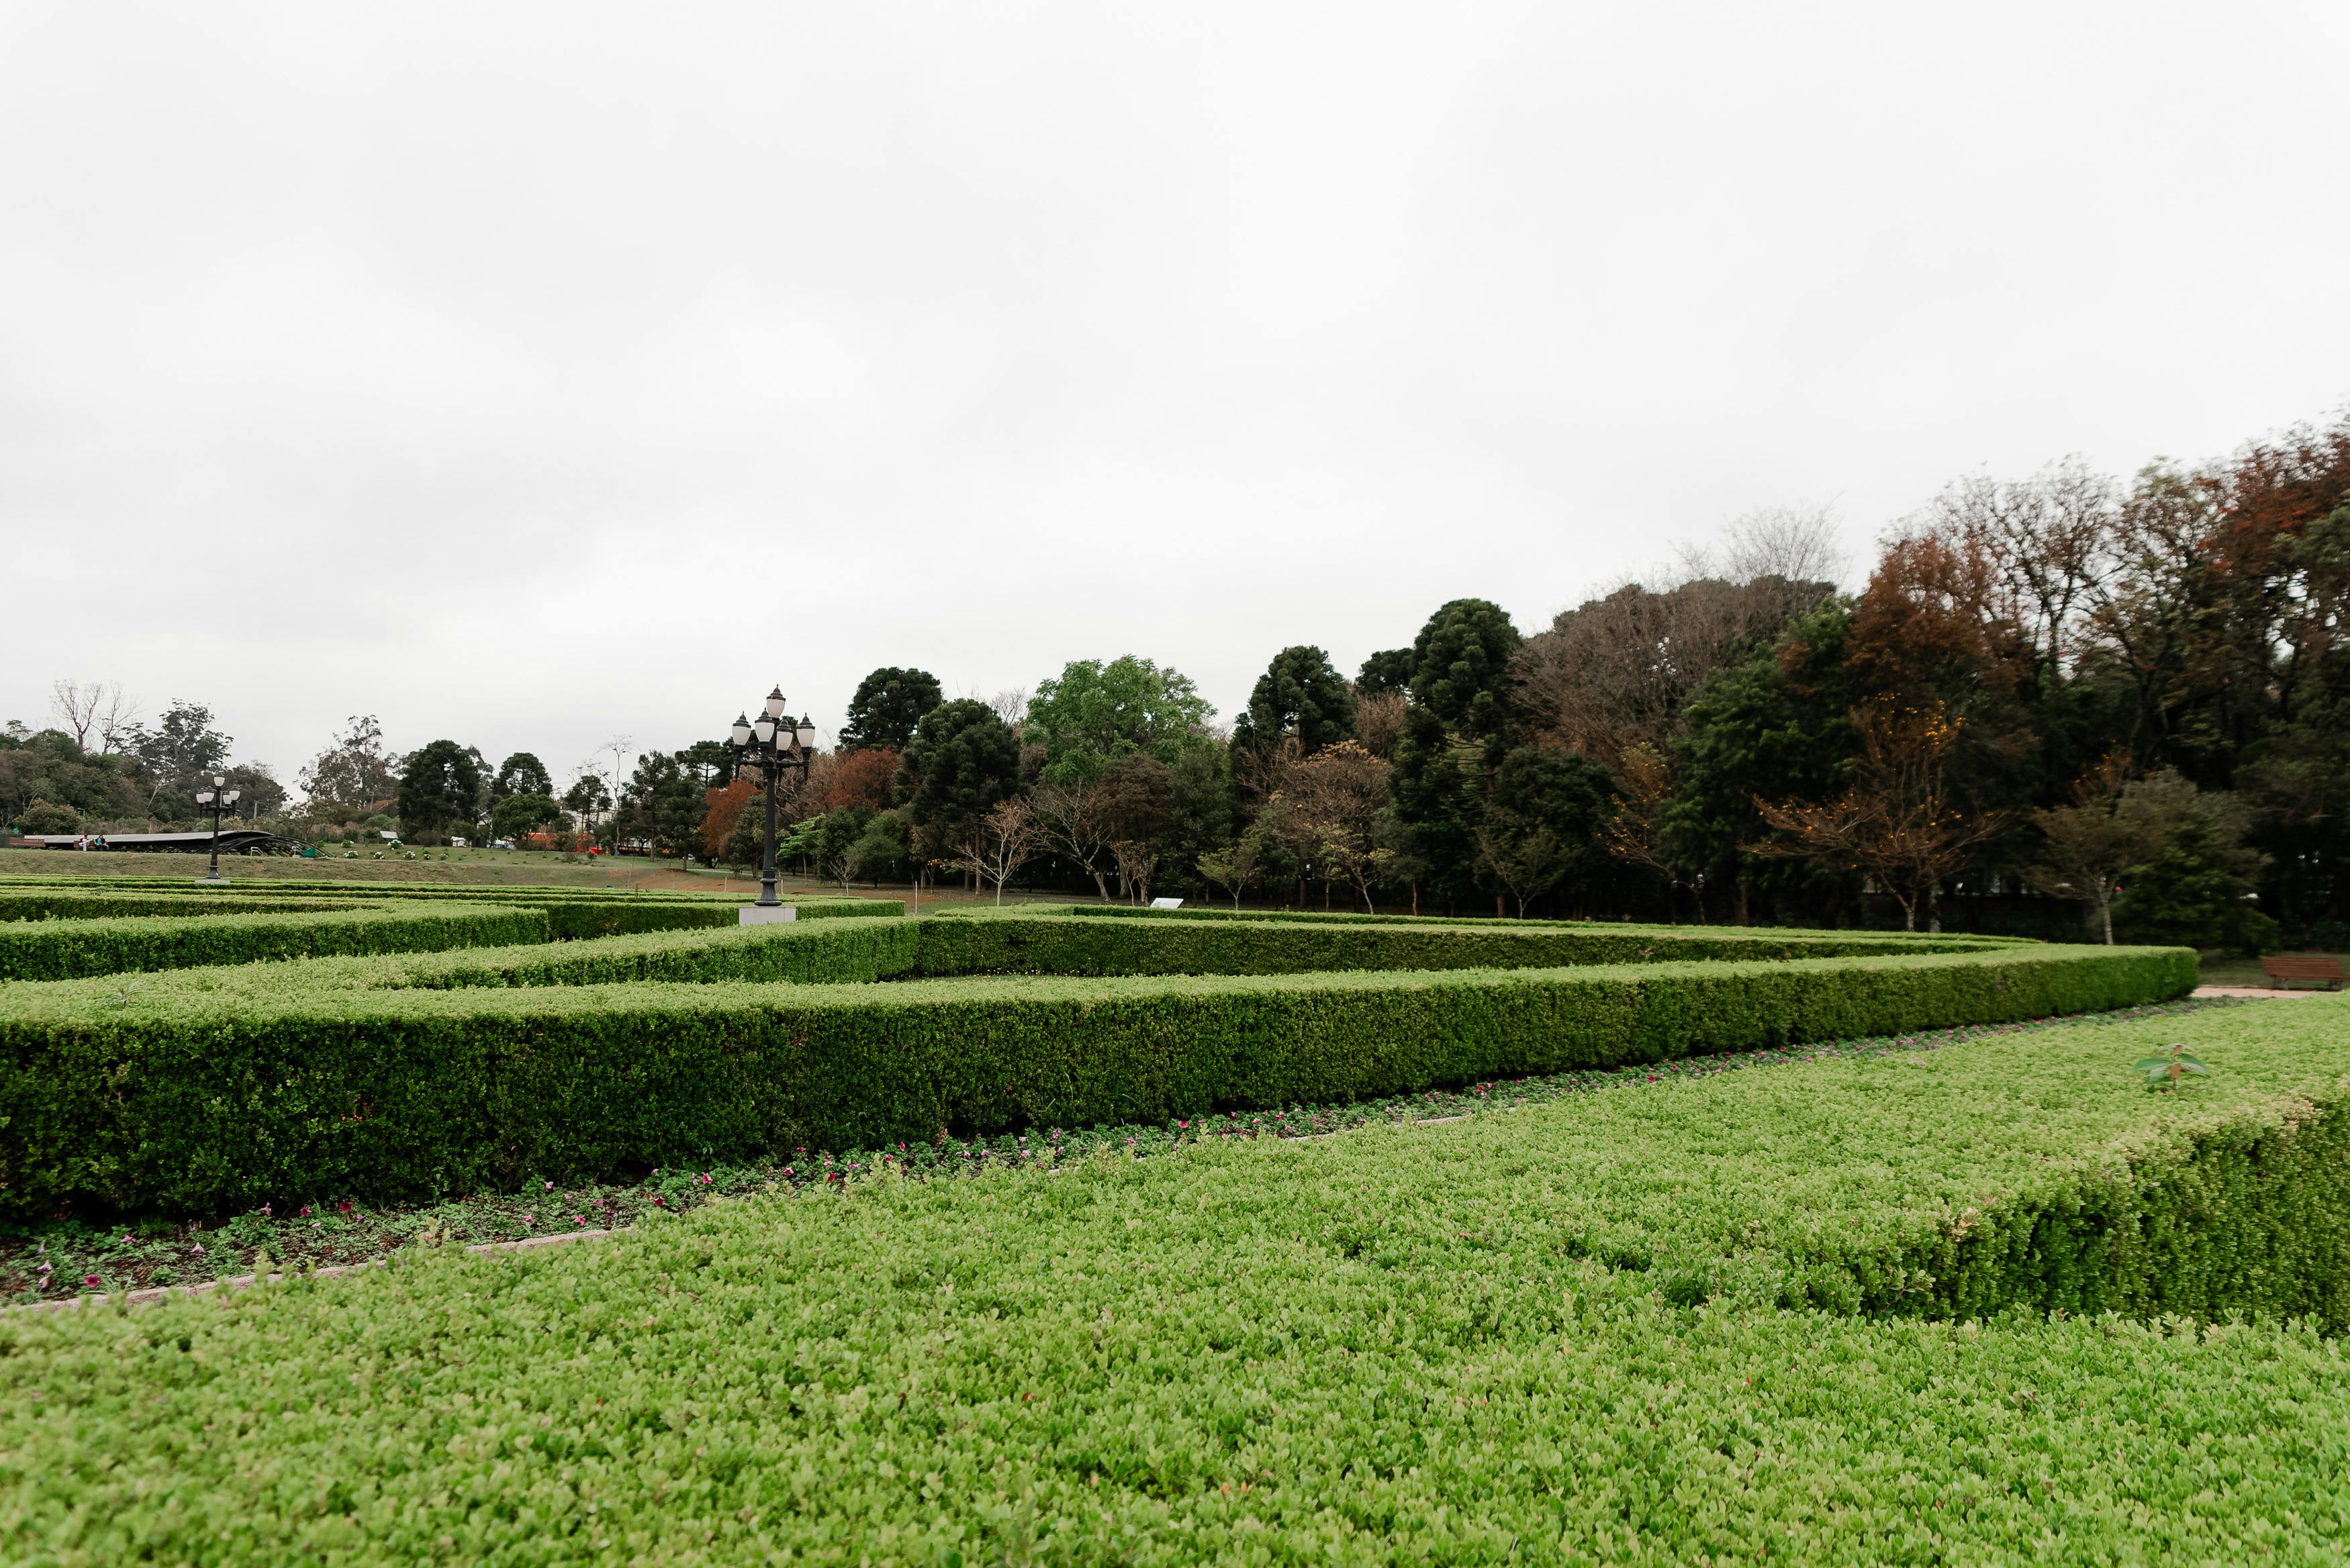
Introduction to Artificial Boxwood Hedges
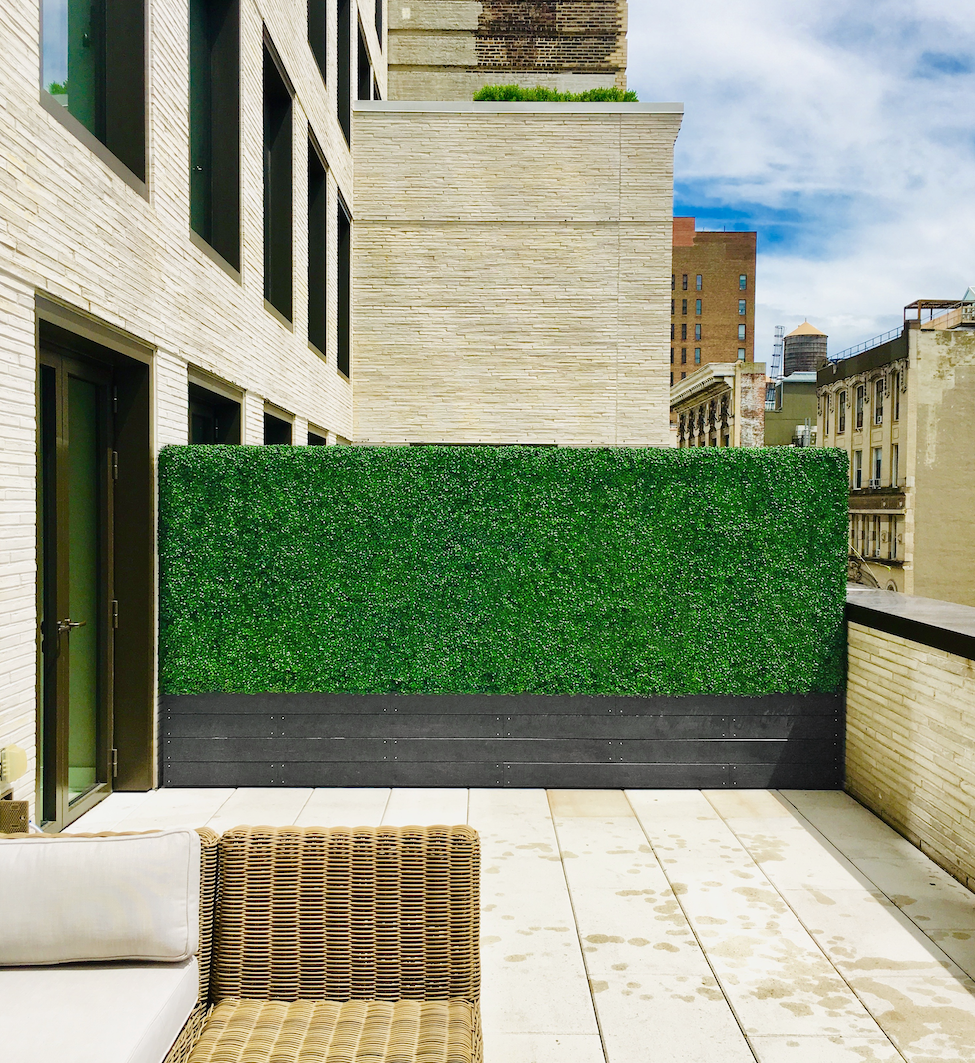
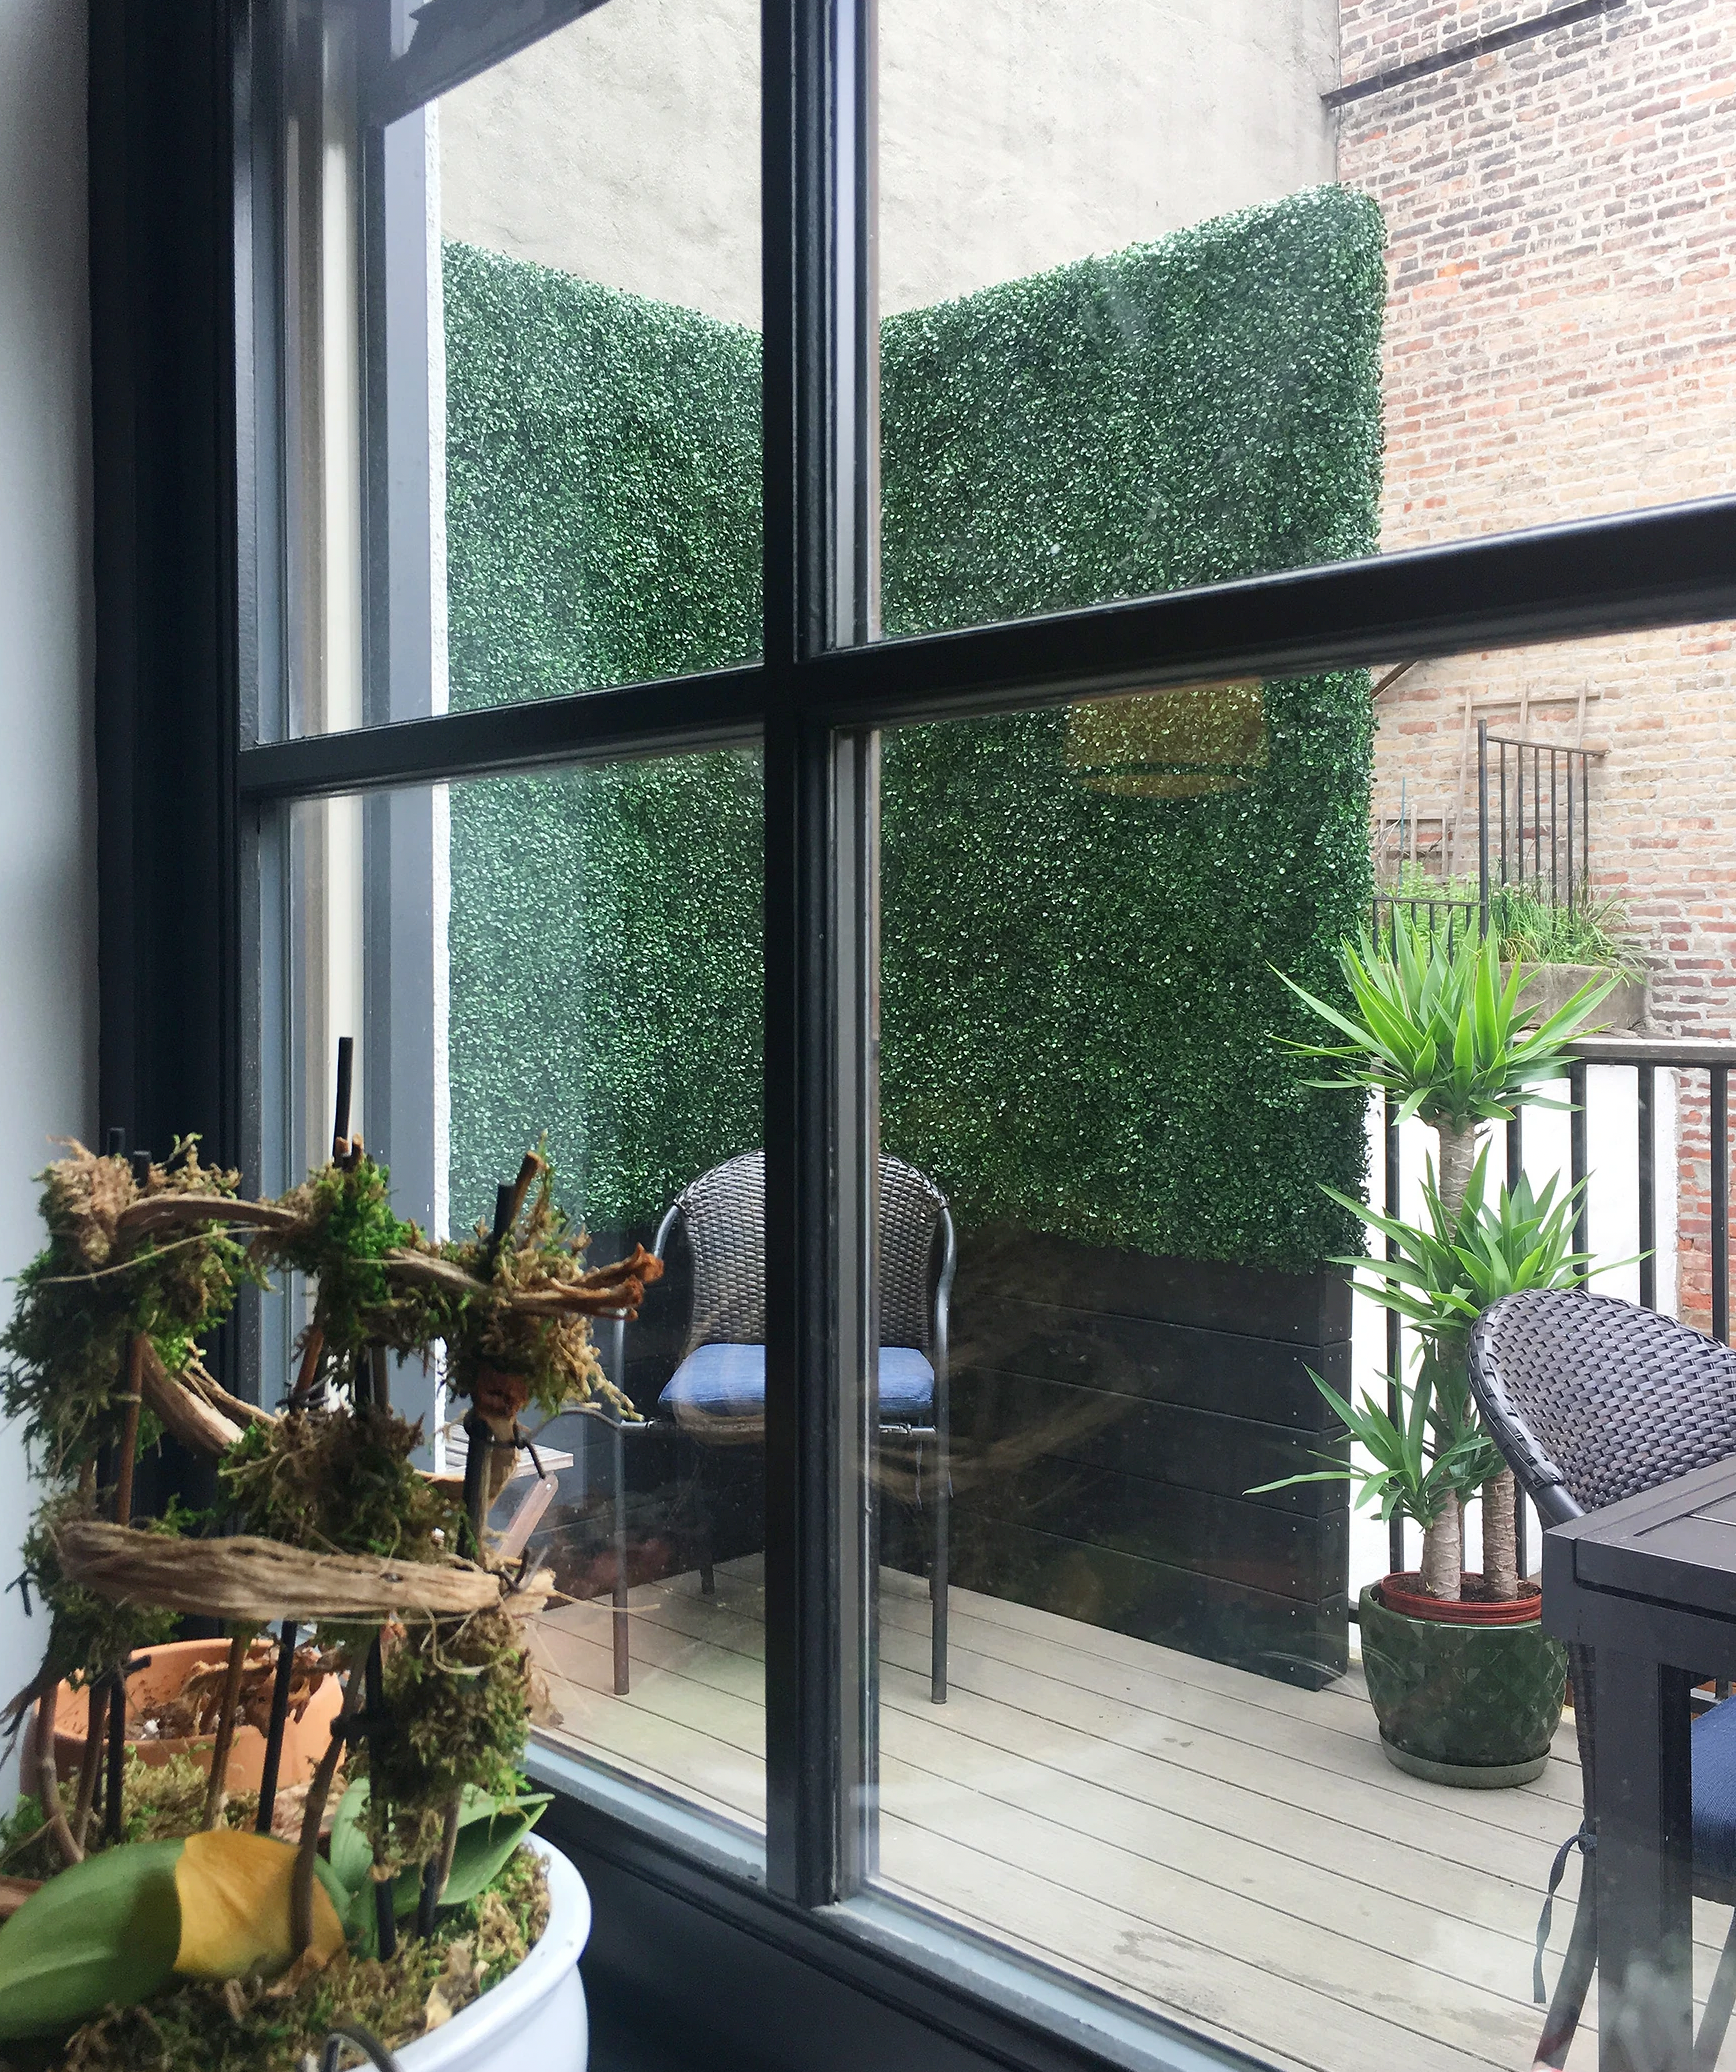
Brooklyn homeowners are increasingly turning to artificial boxwood hedges to enhance their residential landscapes. These versatile, low-maintenance solutions offer year-round greenery and privacy without the hassle of traditional gardening. If you're new to this concept, you're in the right place. This comprehensive guide will walk you through the process of installing artificial boxwood hedges, tailored specifically for beginners.
Why Choose Artificial Boxwood Hedges?
Artificial boxwood hedges provide several benefits that make them an attractive option for Brooklyn residents. Here are a few reasons why you should consider them:
- Low Maintenance: No need for watering, pruning, or fertilization.
- Durability: High-quality materials ensure longevity and resilience against the elements.
- Versatility: Can be used for privacy screens, garden dividers, or aesthetic enhancements.
- Eco-Friendly: Reduces water usage and eliminates the need for pesticides.
Getting Started: Tools and Materials
Before diving into installation, gather the necessary tools and materials. Here's what you'll need:
- Artificial Boxwood Panels: Choose panels that suit your style and dimensions.
- Measuring Tape: For precise measurements of your space.
- Scissors or Wire Cutters: To trim panels as needed.
- Zip Ties or Clips: Secure the panels in place.
- Drill and Screws: Optional, for more permanent installations.
Step-by-Step Installation Guide
Step 1: Measure Your Space
Begin by measuring the area where you plan to install the hedges. This ensures that you purchase the correct amount of material and helps with accurate placement.
Step 2: Prepare the Surface
Ensure the surface is clean and free from debris. If installing on a fence or wall, make sure it’s sturdy enough to support the panels.
Step 3: Layout and Plan
Lay out the panels on the ground to visualize the final look. This step helps in identifying any adjustments needed to fit your space perfectly.
Step 4: Trim and Adjust Panels
Use scissors or wire cutters to trim panels to the desired size. Ensure that edges align perfectly for a seamless look.
Step 5: Secure the Panels
Begin attaching the panels using zip ties or clips. For a more secure installation, use a drill and screws to fasten panels to a wooden fence or wall.
Step 6: Final Touches
Check for any loose areas and make final adjustments. Trim any excess zip ties for a neat finish.
Maintenance Tips
While artificial boxwood hedges require minimal maintenance, a few simple practices can keep them looking their best:
- Regular Cleaning: Use a garden hose or a soft brush to remove dust and dirt.
- Check Fastenings: Periodically inspect ties or clips to ensure panels remain secure.
- UV Protection: Consider applying a UV-protective spray to maintain vibrant color.
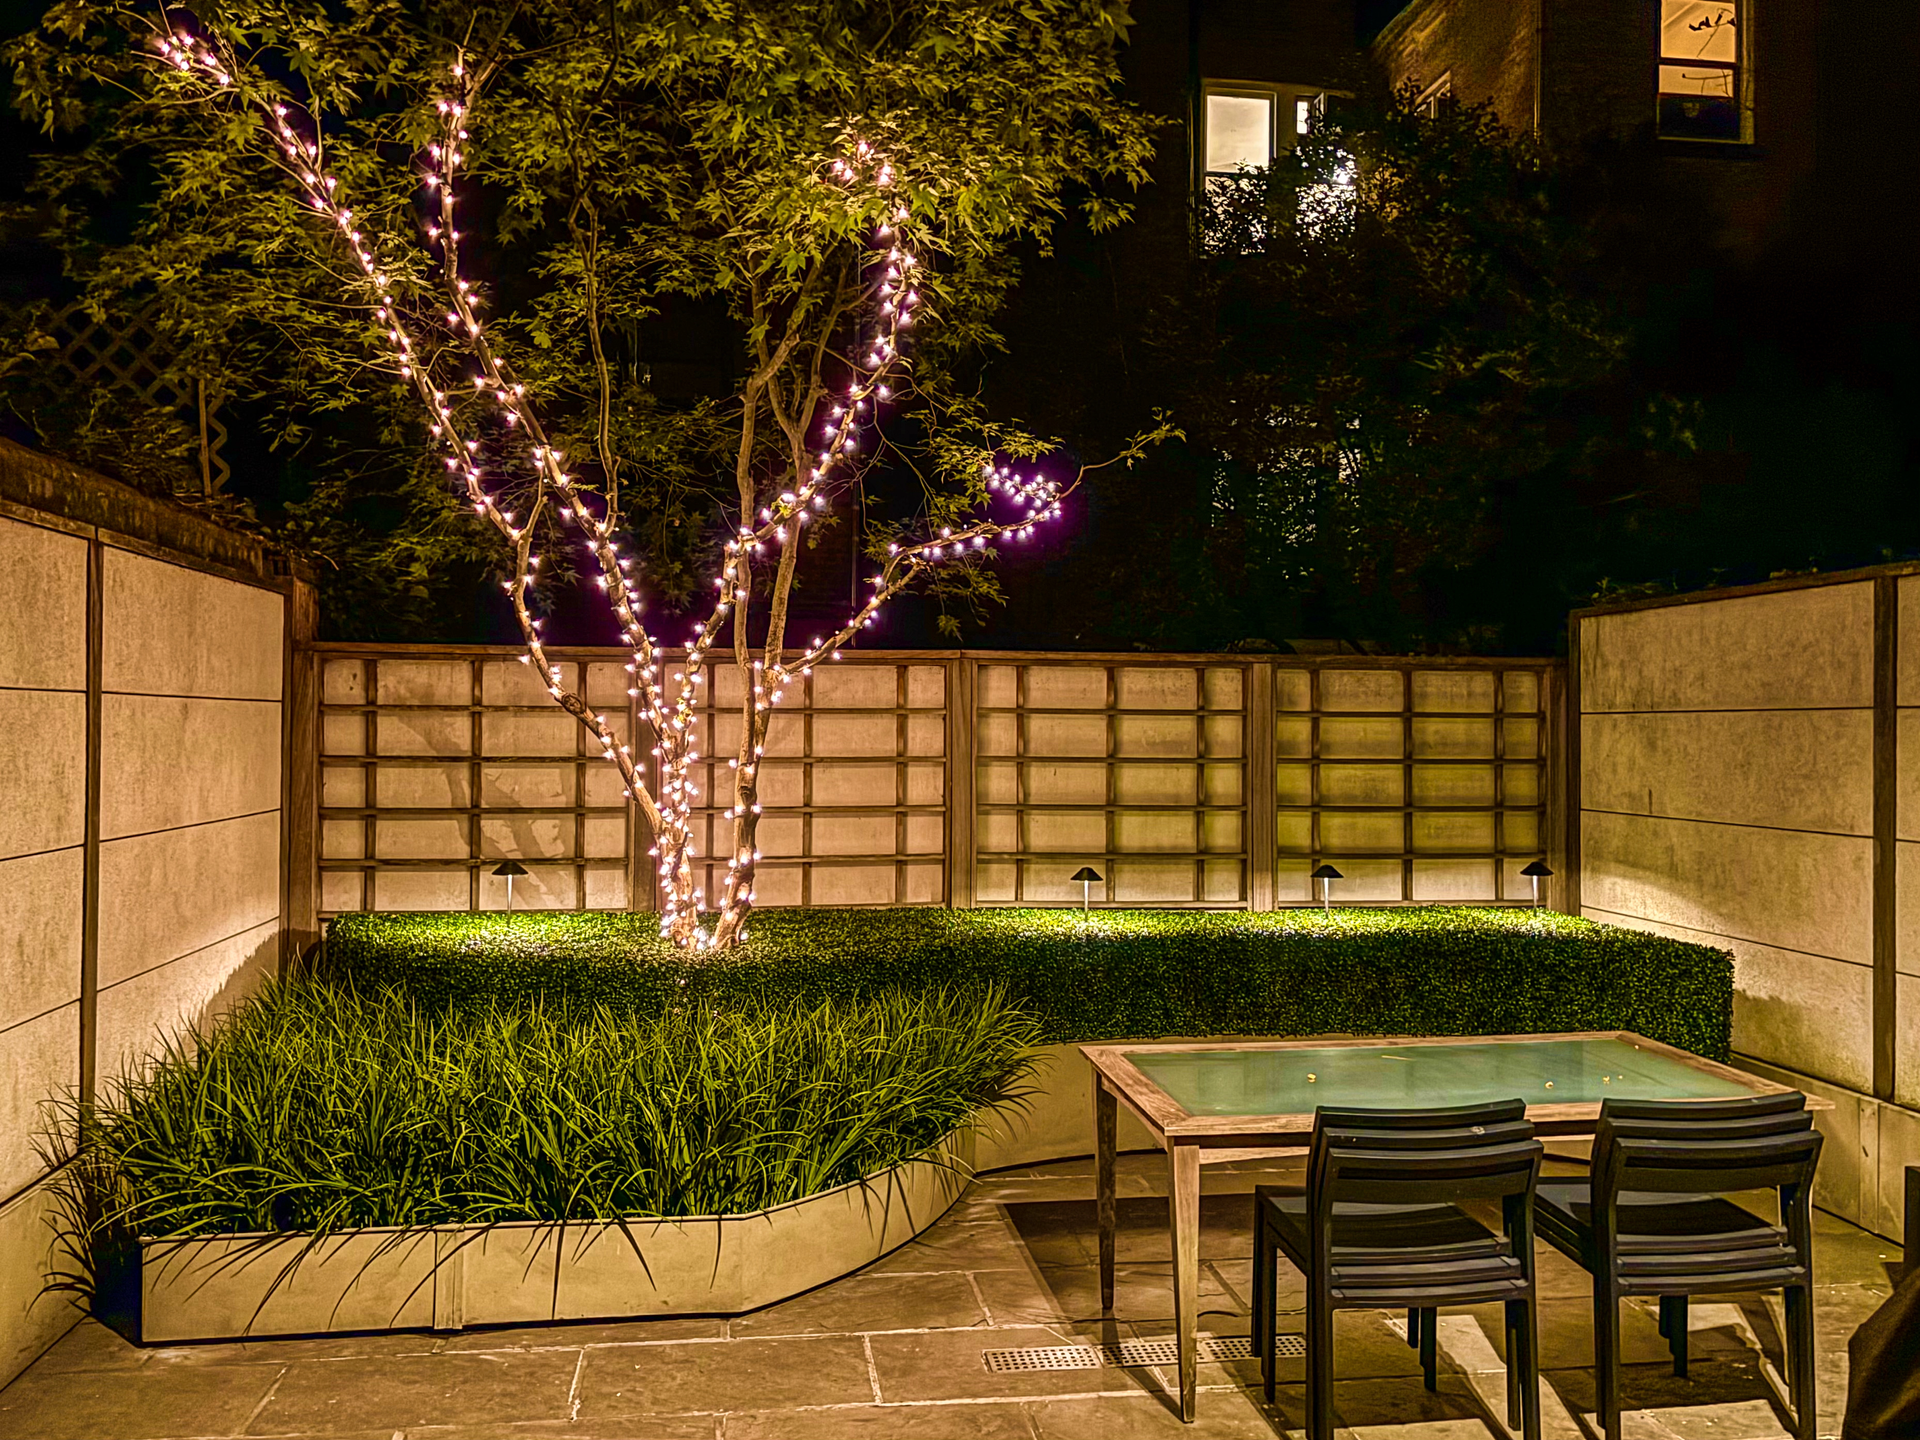
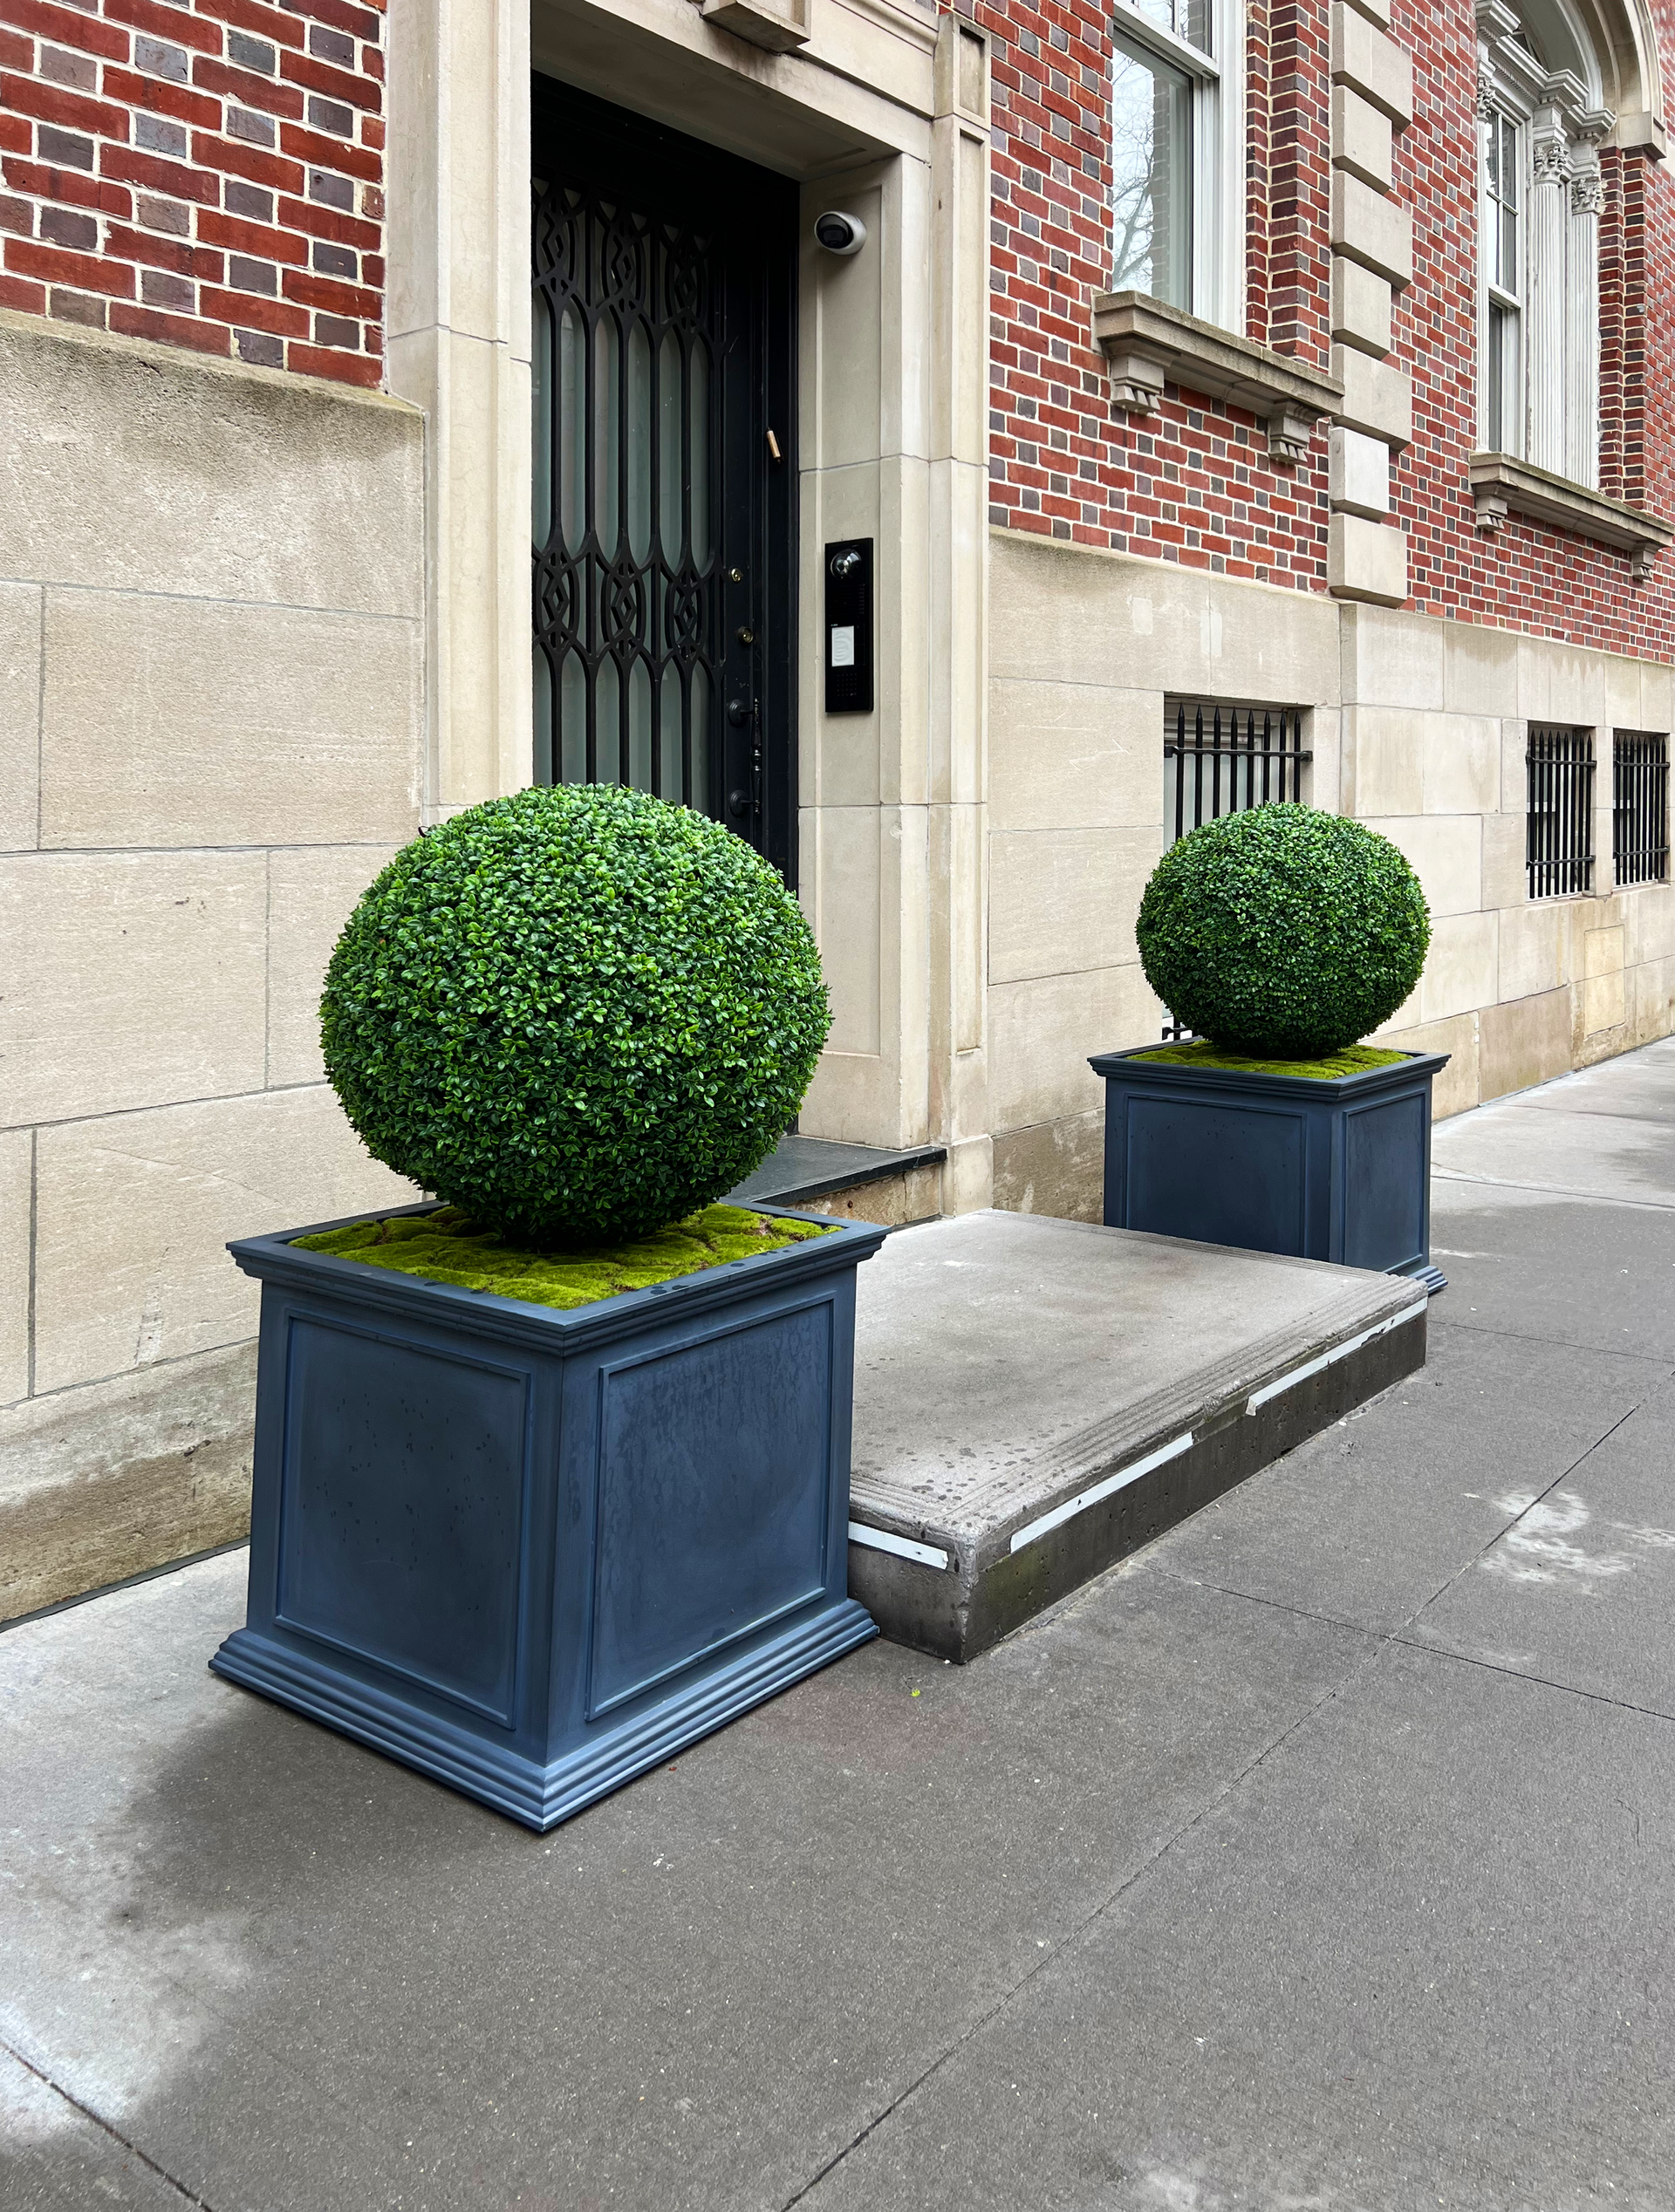
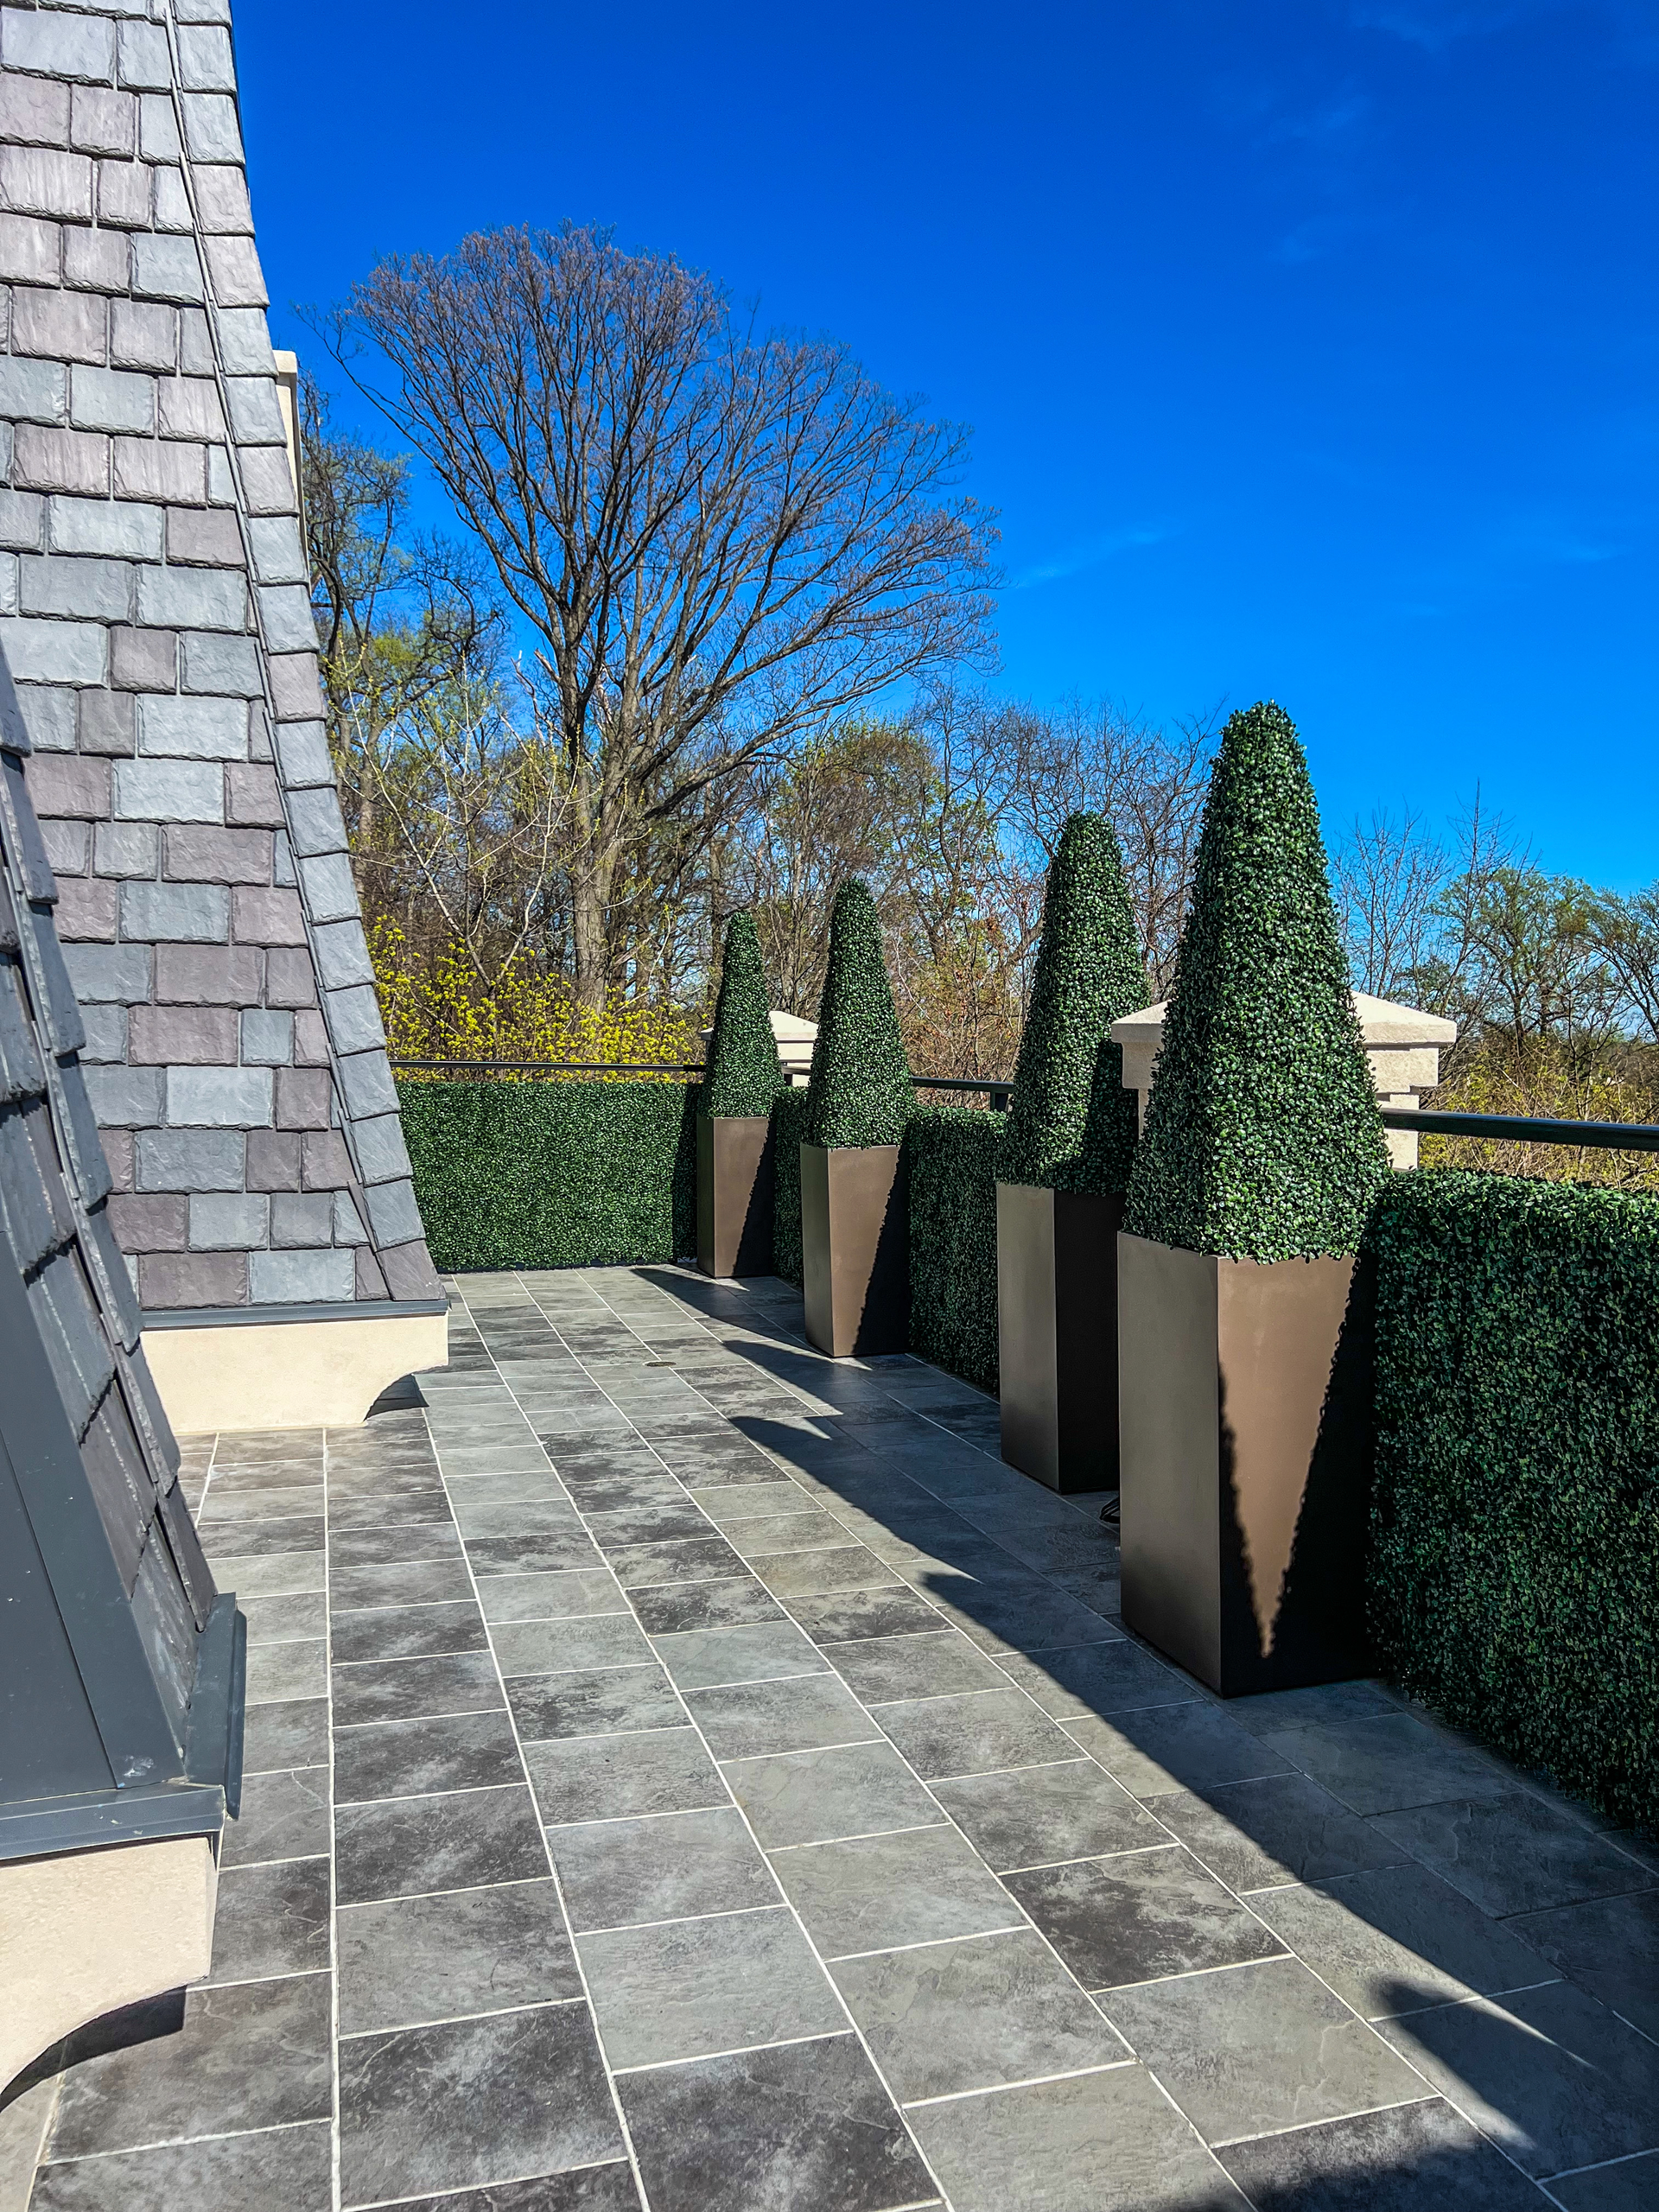
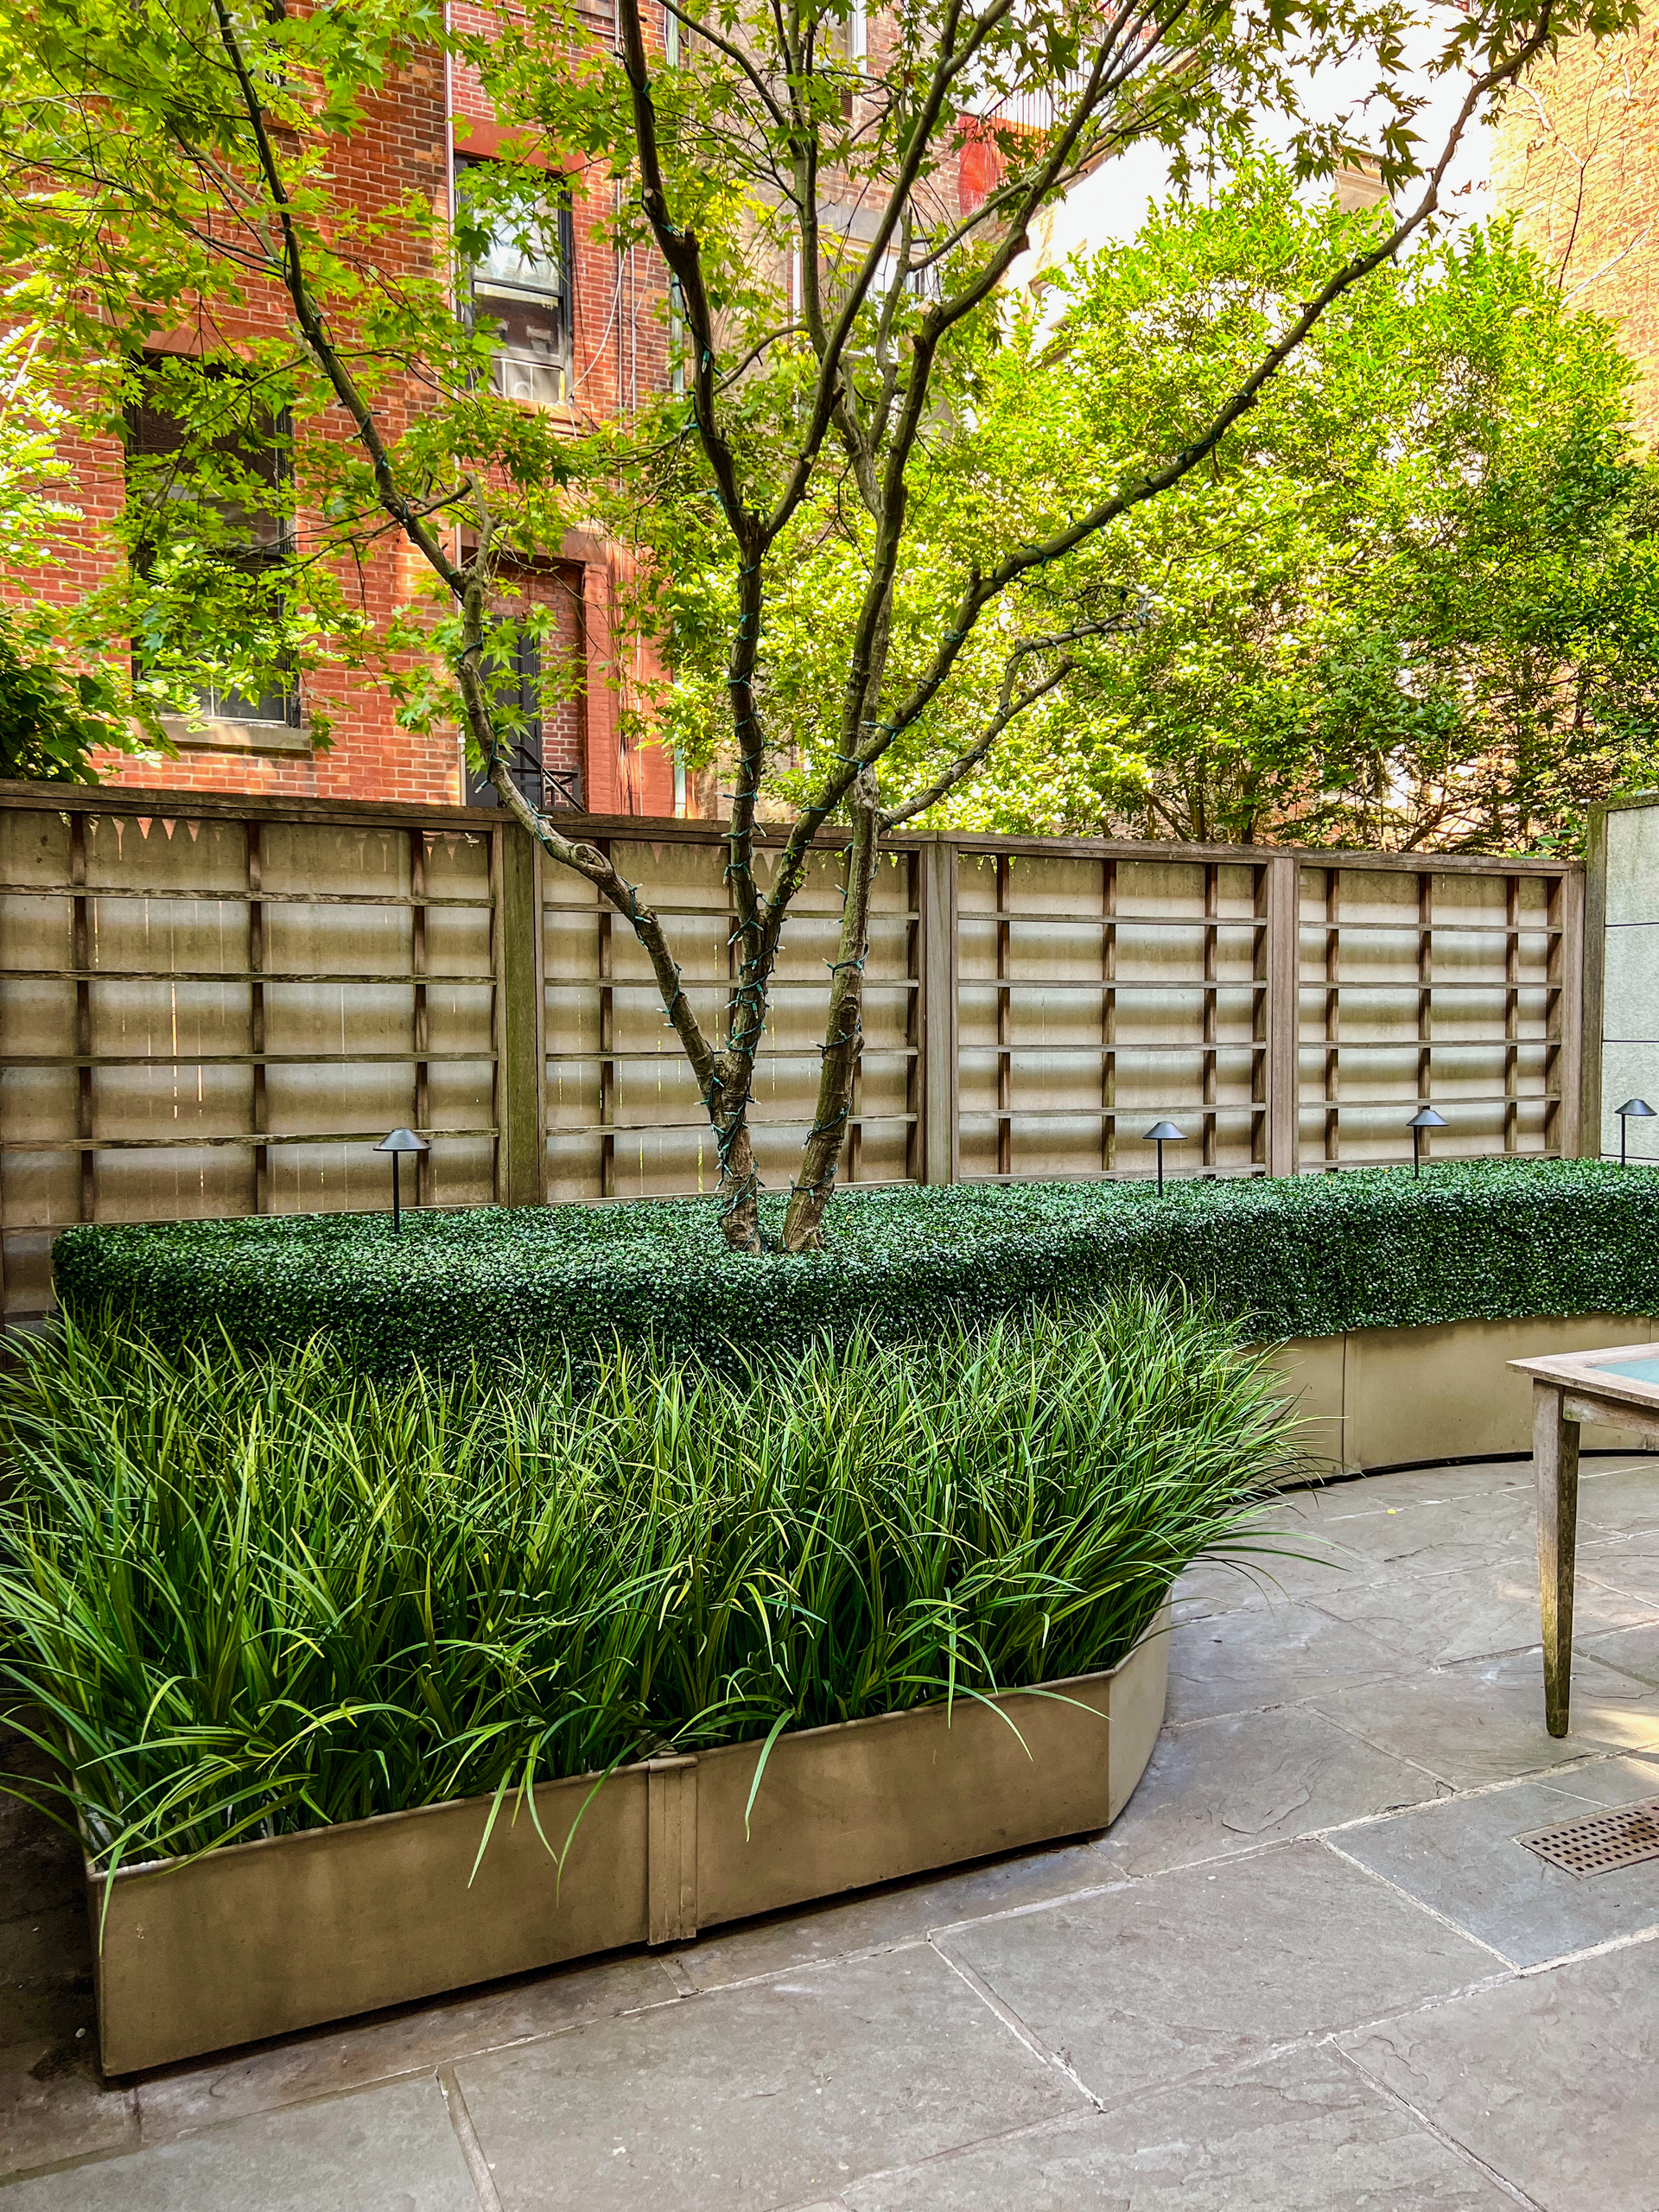
Enhancing Your Brooklyn Home with Artificial Hedges
Artificial boxwood hedges offer a unique blend of beauty and functionality. Whether you're creating a private oasis on your patio or adding curb appeal to your front yard, these hedges are an excellent choice for Brooklyn homes.
Conclusion
Installing artificial boxwood hedges is a straightforward process, even for beginners. With the right tools and a little patience, you can transform your outdoor space into a lush, green haven that enhances your home's aesthetic and value. For more tips and customizable options, visit Brooklyn West Hedges, your local expert in artificial greenery solutions.