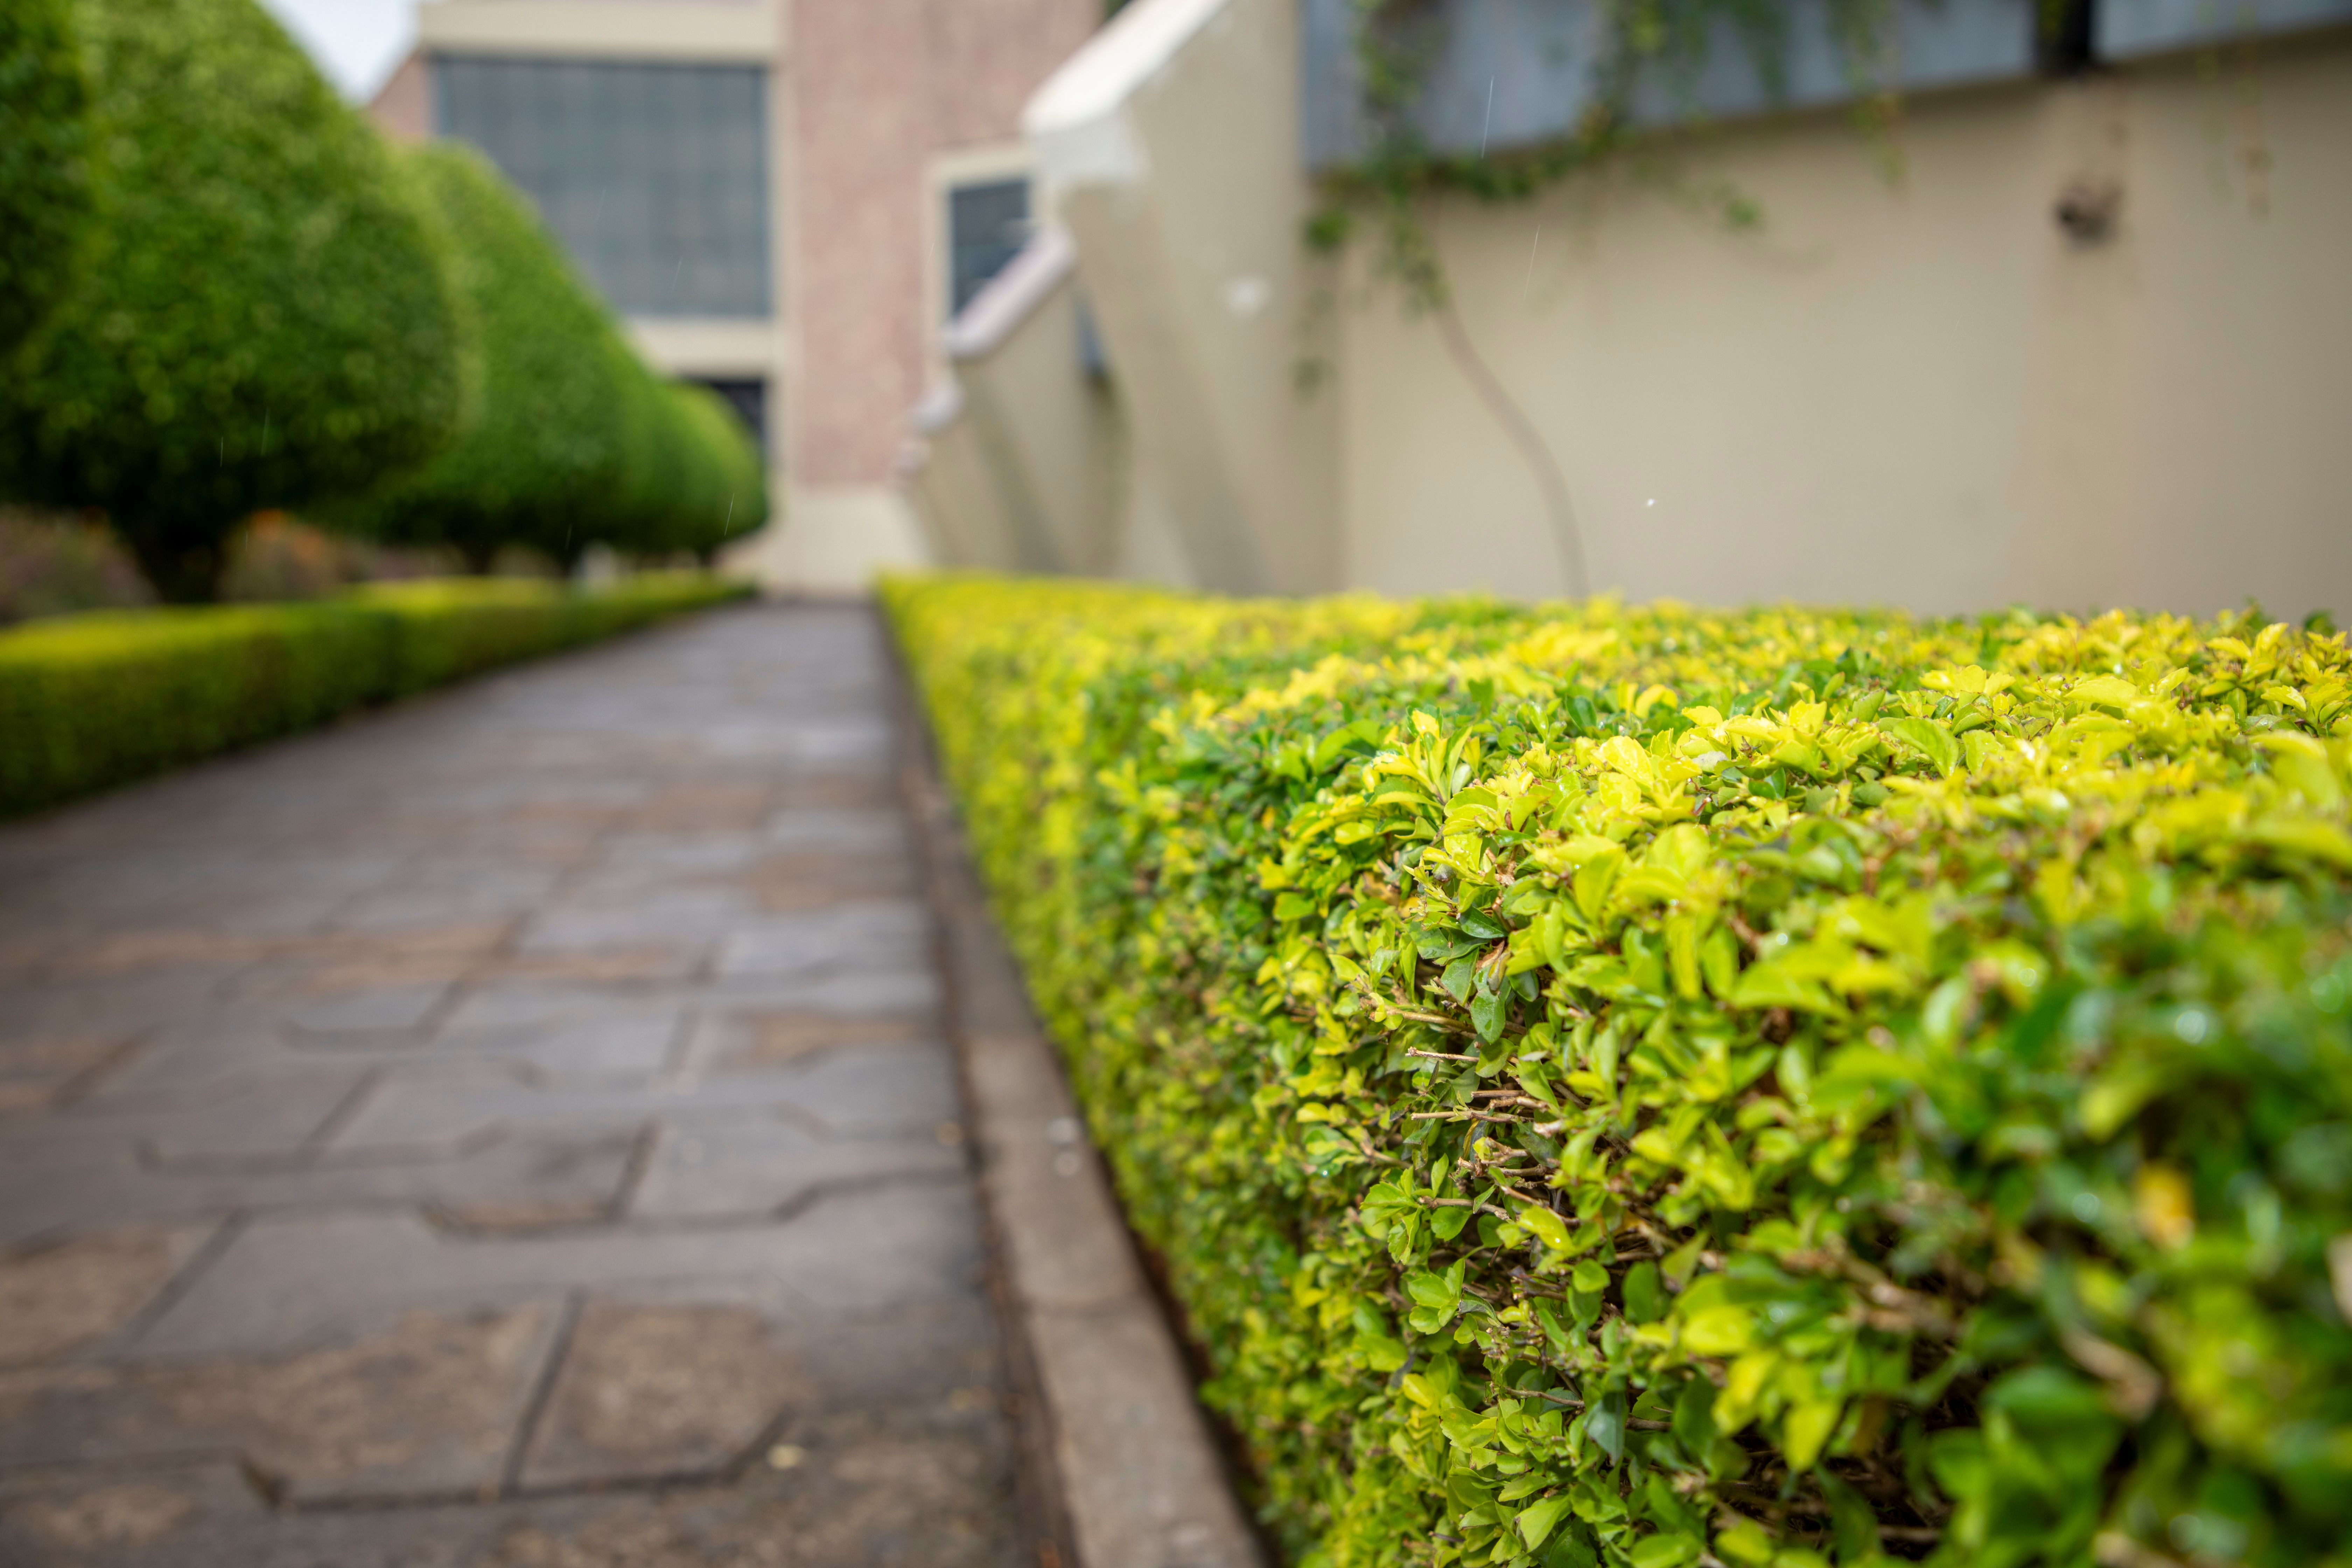
Welcome to the World of Faux Boxwood Hedges
Are you a Brooklyn homeowner looking to enhance your outdoor space with minimal maintenance? Faux boxwood hedges might be the perfect solution. These artificial hedges offer the lush, green aesthetics of real boxwood without the upkeep. In this guide, we'll walk you through the process of installing faux boxwood hedges in your home, designed especially for beginners.
Why Choose Faux Boxwood Hedges?
Faux boxwood hedges are gaining popularity for several reasons:
- Low Maintenance: Unlike real plants, faux hedges don't require watering, trimming, or pest control.
- Durability: Made from high-quality materials, these hedges withstand harsh weather conditions, perfect for Brooklyn's variable climate.
- Versatility: They can be used indoors and outdoors, offering flexibility in design.
- Cost-effective: While the initial investment might be higher, savings on maintenance make them a cost-effective option in the long run.
Materials and Tools You'll Need
Before you start, gather these essential materials and tools:
- Faux boxwood hedge panels (measure your space to determine quantity)
- Panel connectors or zip ties
- Garden stakes or mounting hardware (if installing on a fence or wall)
- Measuring tape
- Scissors or utility knife
- Level
- Drill (if necessary for mounting)
Step-by-Step Installation Guide
Step 1: Measure Your Space
Start by measuring the area where you plan to install the faux boxwood hedges. This will help you determine how many panels you'll need. Remember, it's always a good idea to order a little extra to account for any errors or adjustments.
Step 2: Prepare the Surface
Ensure that the surface (ground, fence, or wall) is clean and ready for installation. For ground installations, level the soil and remove any debris or rocks.
Step 3: Connect the Panels
Lay out your panels on a flat surface and use the panel connectors or zip ties to join them together. Make sure the foliage is dense and the connections are secure.
Step 4: Install the Hedges
If you're installing on the ground, use garden stakes to anchor the panels securely in place. For wall or fence installations, use the appropriate mounting hardware and a drill to attach the panels. Use a level to ensure the hedges are straight.
Step 5: Trim and Adjust
Once installed, step back and check for any uneven edges. Use scissors or a utility knife to trim any excess material for a polished finish.
Tips for a Seamless Installation
Here are some additional tips to help you achieve the best results:
- Choose Quality Materials: Invest in high-quality faux boxwood to ensure longevity and a realistic appearance.
- Consider Lighting: Install lighting around your hedges to accentuate them at night.
- Mix and Match: Combine different sizes and styles of hedges for a dynamic look.
Maintenance and Care
While faux boxwood hedges require minimal maintenance, occasional cleaning can help maintain their appearance. Use a soft brush or cloth to remove dust and debris. For stubborn dirt, a gentle spray of water should suffice. Avoid harsh chemicals that might damage the foliage.
Conclusion
Installing faux boxwood hedges is a straightforward process that even beginners can tackle. With the right materials and a bit of planning, you can transform your Brooklyn home into a green oasis with minimal effort. If you have any questions or need further assistance, don't hesitate to reach out to Faux Boxwood Hedges in Brooklyn for expert advice and top-quality products. Enjoy your new, maintenance-free greenery!
Explore More with Faux Boxwood Hedges
Ready to take the next step? Visit our website for more information on our products and services. Discover the endless possibilities of faux boxwood hedges for your Brooklyn home today.